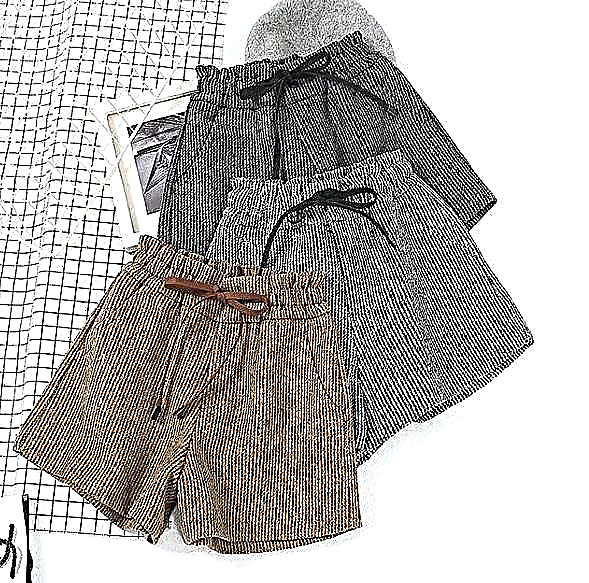
This picture, made of two types of fabric, deserves the title of a work of modern art, a frame and a place on the wall!

A modern look at patchwork and quilting, plus a way to create an interior picture that will appeal to those who like to sew, is a stitched picture. The technique here is similar to the quilt technique. And what kind of picture will be externally depends only on your imagination. In this case, two types of fabric were used to create an abstract image.

How to decorate walls: 15 ideas for decorative panels with master classes
You will need:

- fabric for the picture;
- fabric for the wrong side of the picture;
- sheet sintepon;
- frame and subframe;
- stapler and staples;
- scissors;
- a large ruler and pencil / crayon for fabric;
- tailor pins;
- safety pins;
- masking tape;
- large clamps;
- iron;
- sewing machine and thread.
Patchwork and quilting wall panel
Step 1

Think over the sketch of your picture. Accordingly, cut out the details from the fabric. The detail of the background of the picture should repeat the shape and size of the subframe plus 12-15 centimeters of allowances on each side. Cut the same part out of synthetic winterizer. Cut out other details of the painting with the expectation that 2-3 cm will go into the doorways. The cut out rectangles do not have to be perfectly even - for example, here they were specially cut out a little irregularly to give the picture a peculiarity. Turn the edges of the application details 1 cm and iron.
Step 2

Iron also the background detail of the painting.Pin the appliqué details to it according to the sketch. It is important to arrange the parts as evenly as possible, without creases. Sew on the appliqué details 1-2 mm from the edge.
Step 3

Lay out the top layer of the picture on a flat surface and with a pencil or small chalk draw lines for stitches. It is convenient to use a long ruler, drawing a new strip to the width of this ruler. In this case, the background of the picture will be quilted with vertical stripes, and the details of the application will be horizontal. Assemble a sandwich: lay out a flap of fabric for the wrong side of the picture, a synthetic winterizer on top, then the top layer of the picture. The edges can be fastened with pieces of masking tape so that they do not move.
Step 4

With safety pins, quite often chop all three layers of the picture. Following the marked lines, quilting the picture. Remove the pins.
Step 5

Now the canvas needs to be pulled on a stretcher. First stretch it and fasten it with clamps, then attach it with a stapler.
Step 6


It remains to insert the picture into the frame and hang it on the wall.
Photo and source: abeautifulmess.com